
This picture shows the sushi at the Japanese market place
On September 2nd, 2019, I purchased packaged sushi from the Japanese grocery store, Nijya Market in San Francisco. On package was labeled to contain sushi that contained raw salmon and raw mackerel. Another package had raw tuna rolls, and the other had raw yellow tail. Pieces of the animal tissues from each fish were then placed into screw-cap microcentrifuge separately from each other and put on ice.
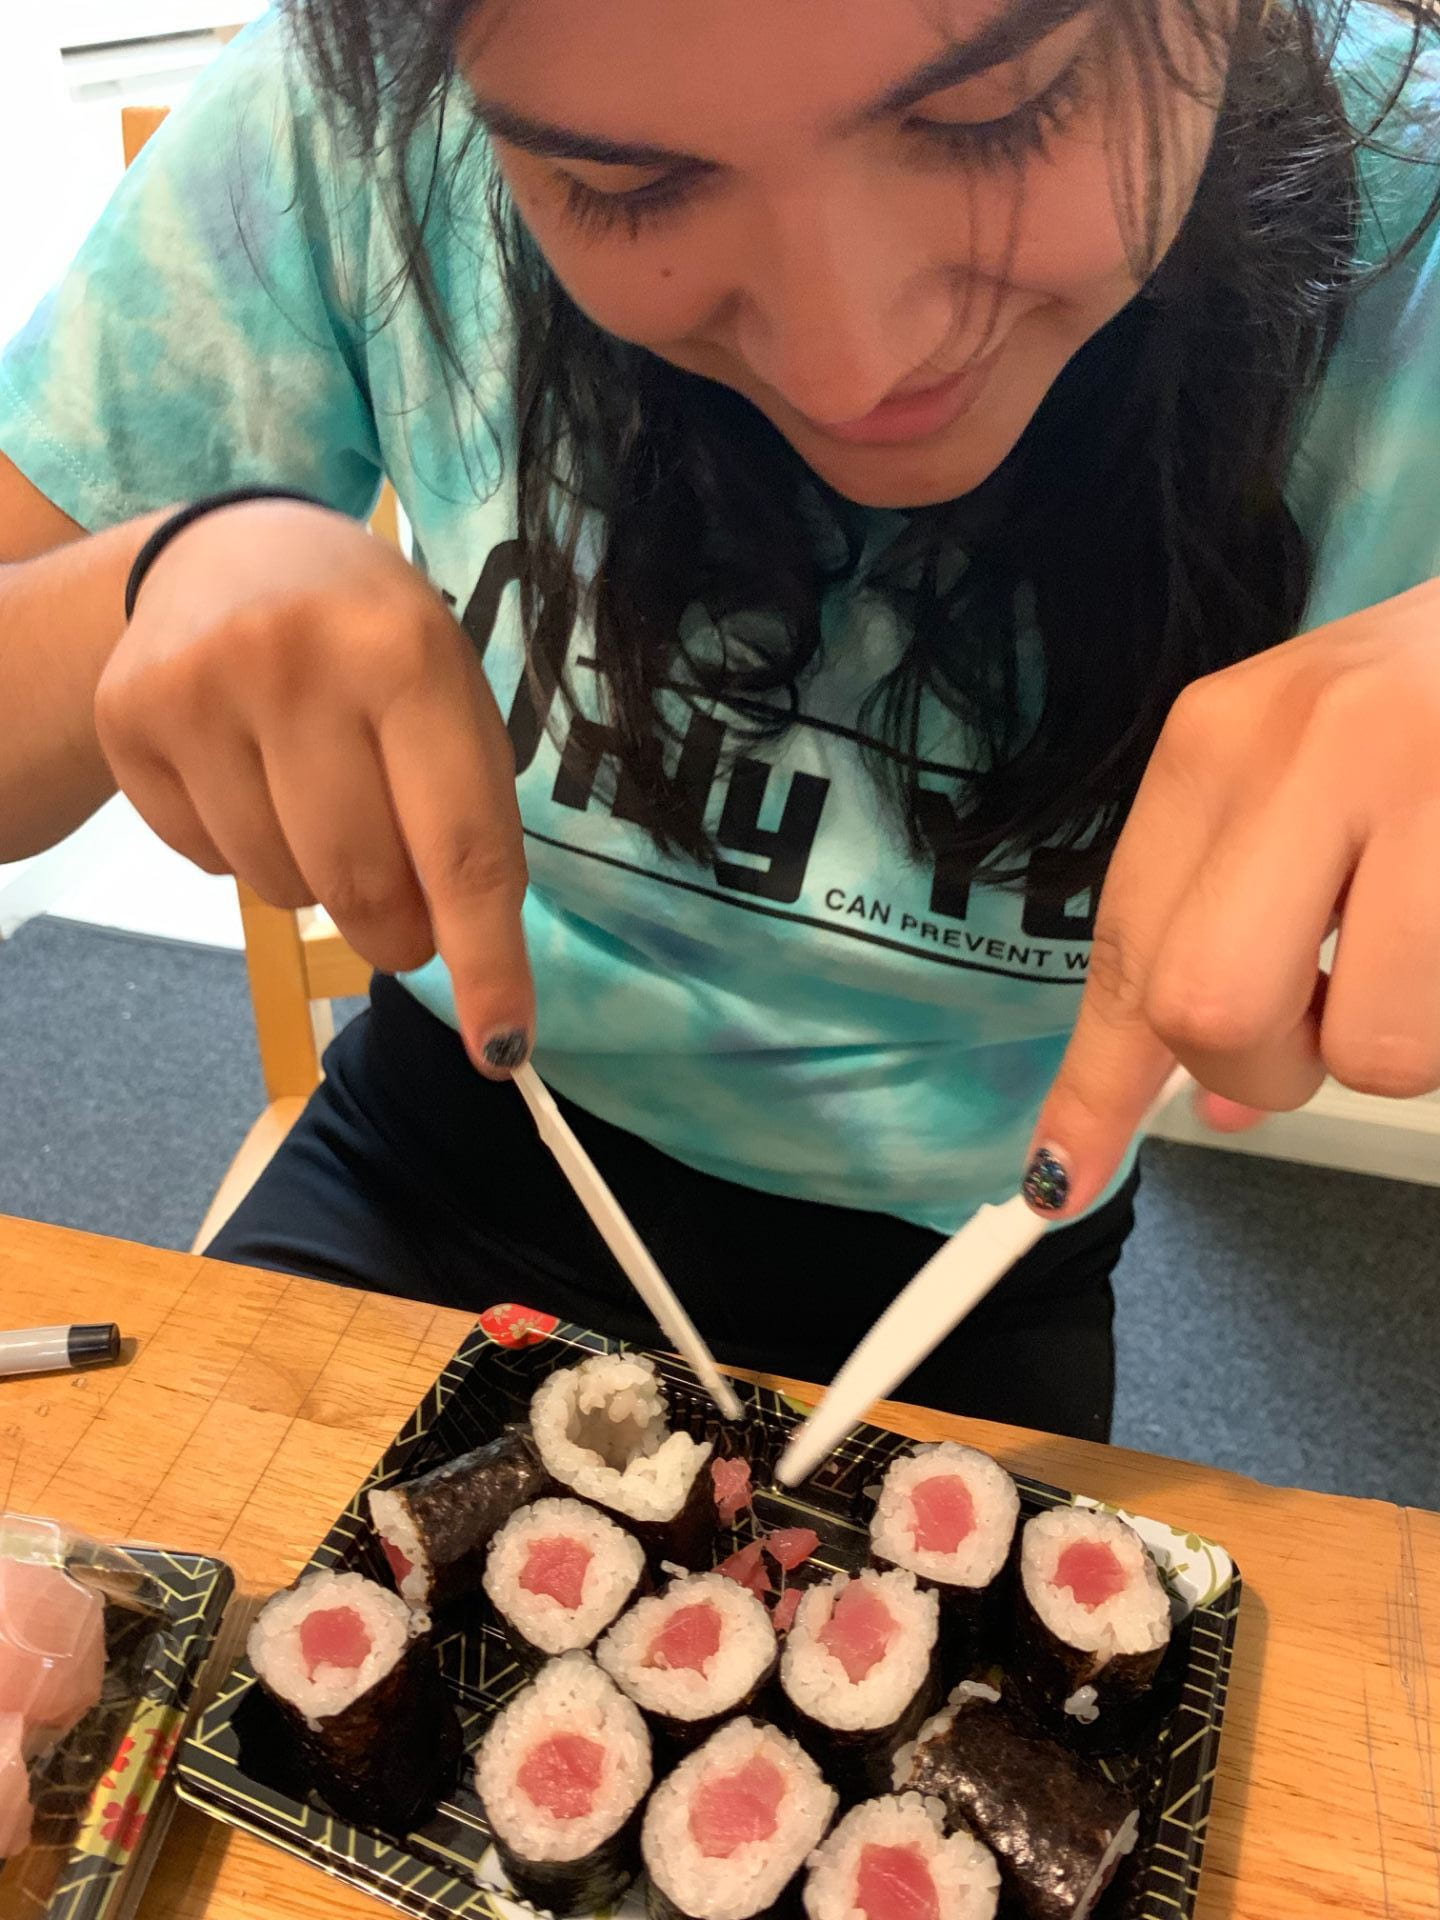
The image above shows myself removing the rice and other obvious ingredients from the raw tuna.
In order to extract DNA from fish tissue derived from sushi, it was first necessary to record the animal tissues that were collected on a data sheet. This included tuna, yellow tail, salmon, and mackerel. Each sample was given a unique code: tuna was labeled GS01, yellow tail was labeled GS02, salmon was labeled GS03, and mackerel was labeled GS04. Next, we put on gloves and labeled four 1.5 ml locking lid microcentrifuge tubes, one for each sample, with sharpies and writing on both the side and the top of the tube.
We cut a small piece of each sample using a scalpel and a paper plate as a surface. In order to determine the size of the sample piece that was cut, one of the samples was cut and weighed to 10 mg. The size of the 10 mg sample was then compared to other samples in order to create uniformity among the size of the samples.
Each sample was placed into its own 1.5 ml microcentrifuge tube. Before the addition of the sample piece, 100 microliters of Extraction Solution (ES) was added using a 200 micropipette and an unfiltered tip. 25 microliters of Tissue Preparation Solution (TPS) were also added using a 200 micropipette and unfiltered tips. The solution of ES and TPS was mixed by micropipetting up and down gently. The animal tissue sample was then placed in the corresponding labeled tube using forceps. The samples were mashed in each tube using a disposable non-filtered pipette tip. The samples in the tubes were then left alone at room temperature for 10 minutes.
The samples were placed on a heat block and incubated at 95 degrees Celsius for 3 minutes, using a phone as a timer. The sample was then removed from the heat block and and 100 microliters of Neutralizing Solution was added using a 200 micropipette with a filtered tip and mixed by vortexing. After this was completed, the samples were put on ice for approximately 4 minutes.
In order to assure good function of PCR, the gDNA was diluted by 10-fold. To do this, we labeled a microcentrifuge tube with “1:10” and the corresponding unique code on the side and top of the tube. We then added 18 microliters of purified water in the labeled tube along with 2 microliters of the gDNA that we extracted from the collected animal tissue. We also used the vortex machine to mix the solution.
We proceeded to make a master mix for the PCR that included 128 microliters of PCR quality water, 200 microliters of RED Extract, 16 microliters of forward primer, and 16 microliters of reverse primer. The volume was determined by multiplying the original volumes by 20 in order to accommodate for all members at our lab table and have extra for a negative control. We then used the master mix and placed 18 microliters of the master mix along with 2 microliters of our gDNA into a PCR tube. This process happened with each different gDNA while switching pipette tips in between each sample.
We wrote the labels of what gDNA it was on each PCR tube on the side and the top of the tube. The tubes then were placed in the thermocycler along with the negative control. Once the PCR reactions were all set up, the reaction ran for 1.5-2 hours. The PCR reactions were then placed in the freezer when the cycling was complete.

We are group Turtles, and the samples that are specifically mine preceded with “GS.” All samples were successful in producing a product.
Leave a Reply