Sept. 05 2018
We started the lab with extracting DNA from our sample fish.
Materials were:
-p200 microcentrifuge
-1.5ml microcentrifuge tubes
-Razor blades/scissors/scalpels
-Heat blck
-Vortex
-Ice
-Sharpie
-Gloves
And for the reagents that will be used to extract DNA are:
-Extraction solution (labeled ES)
-Tissue Preparation Solution (labeled TPS)
-Neutralizing Solution (Labeled NS)
Procedures for extracting DNA:
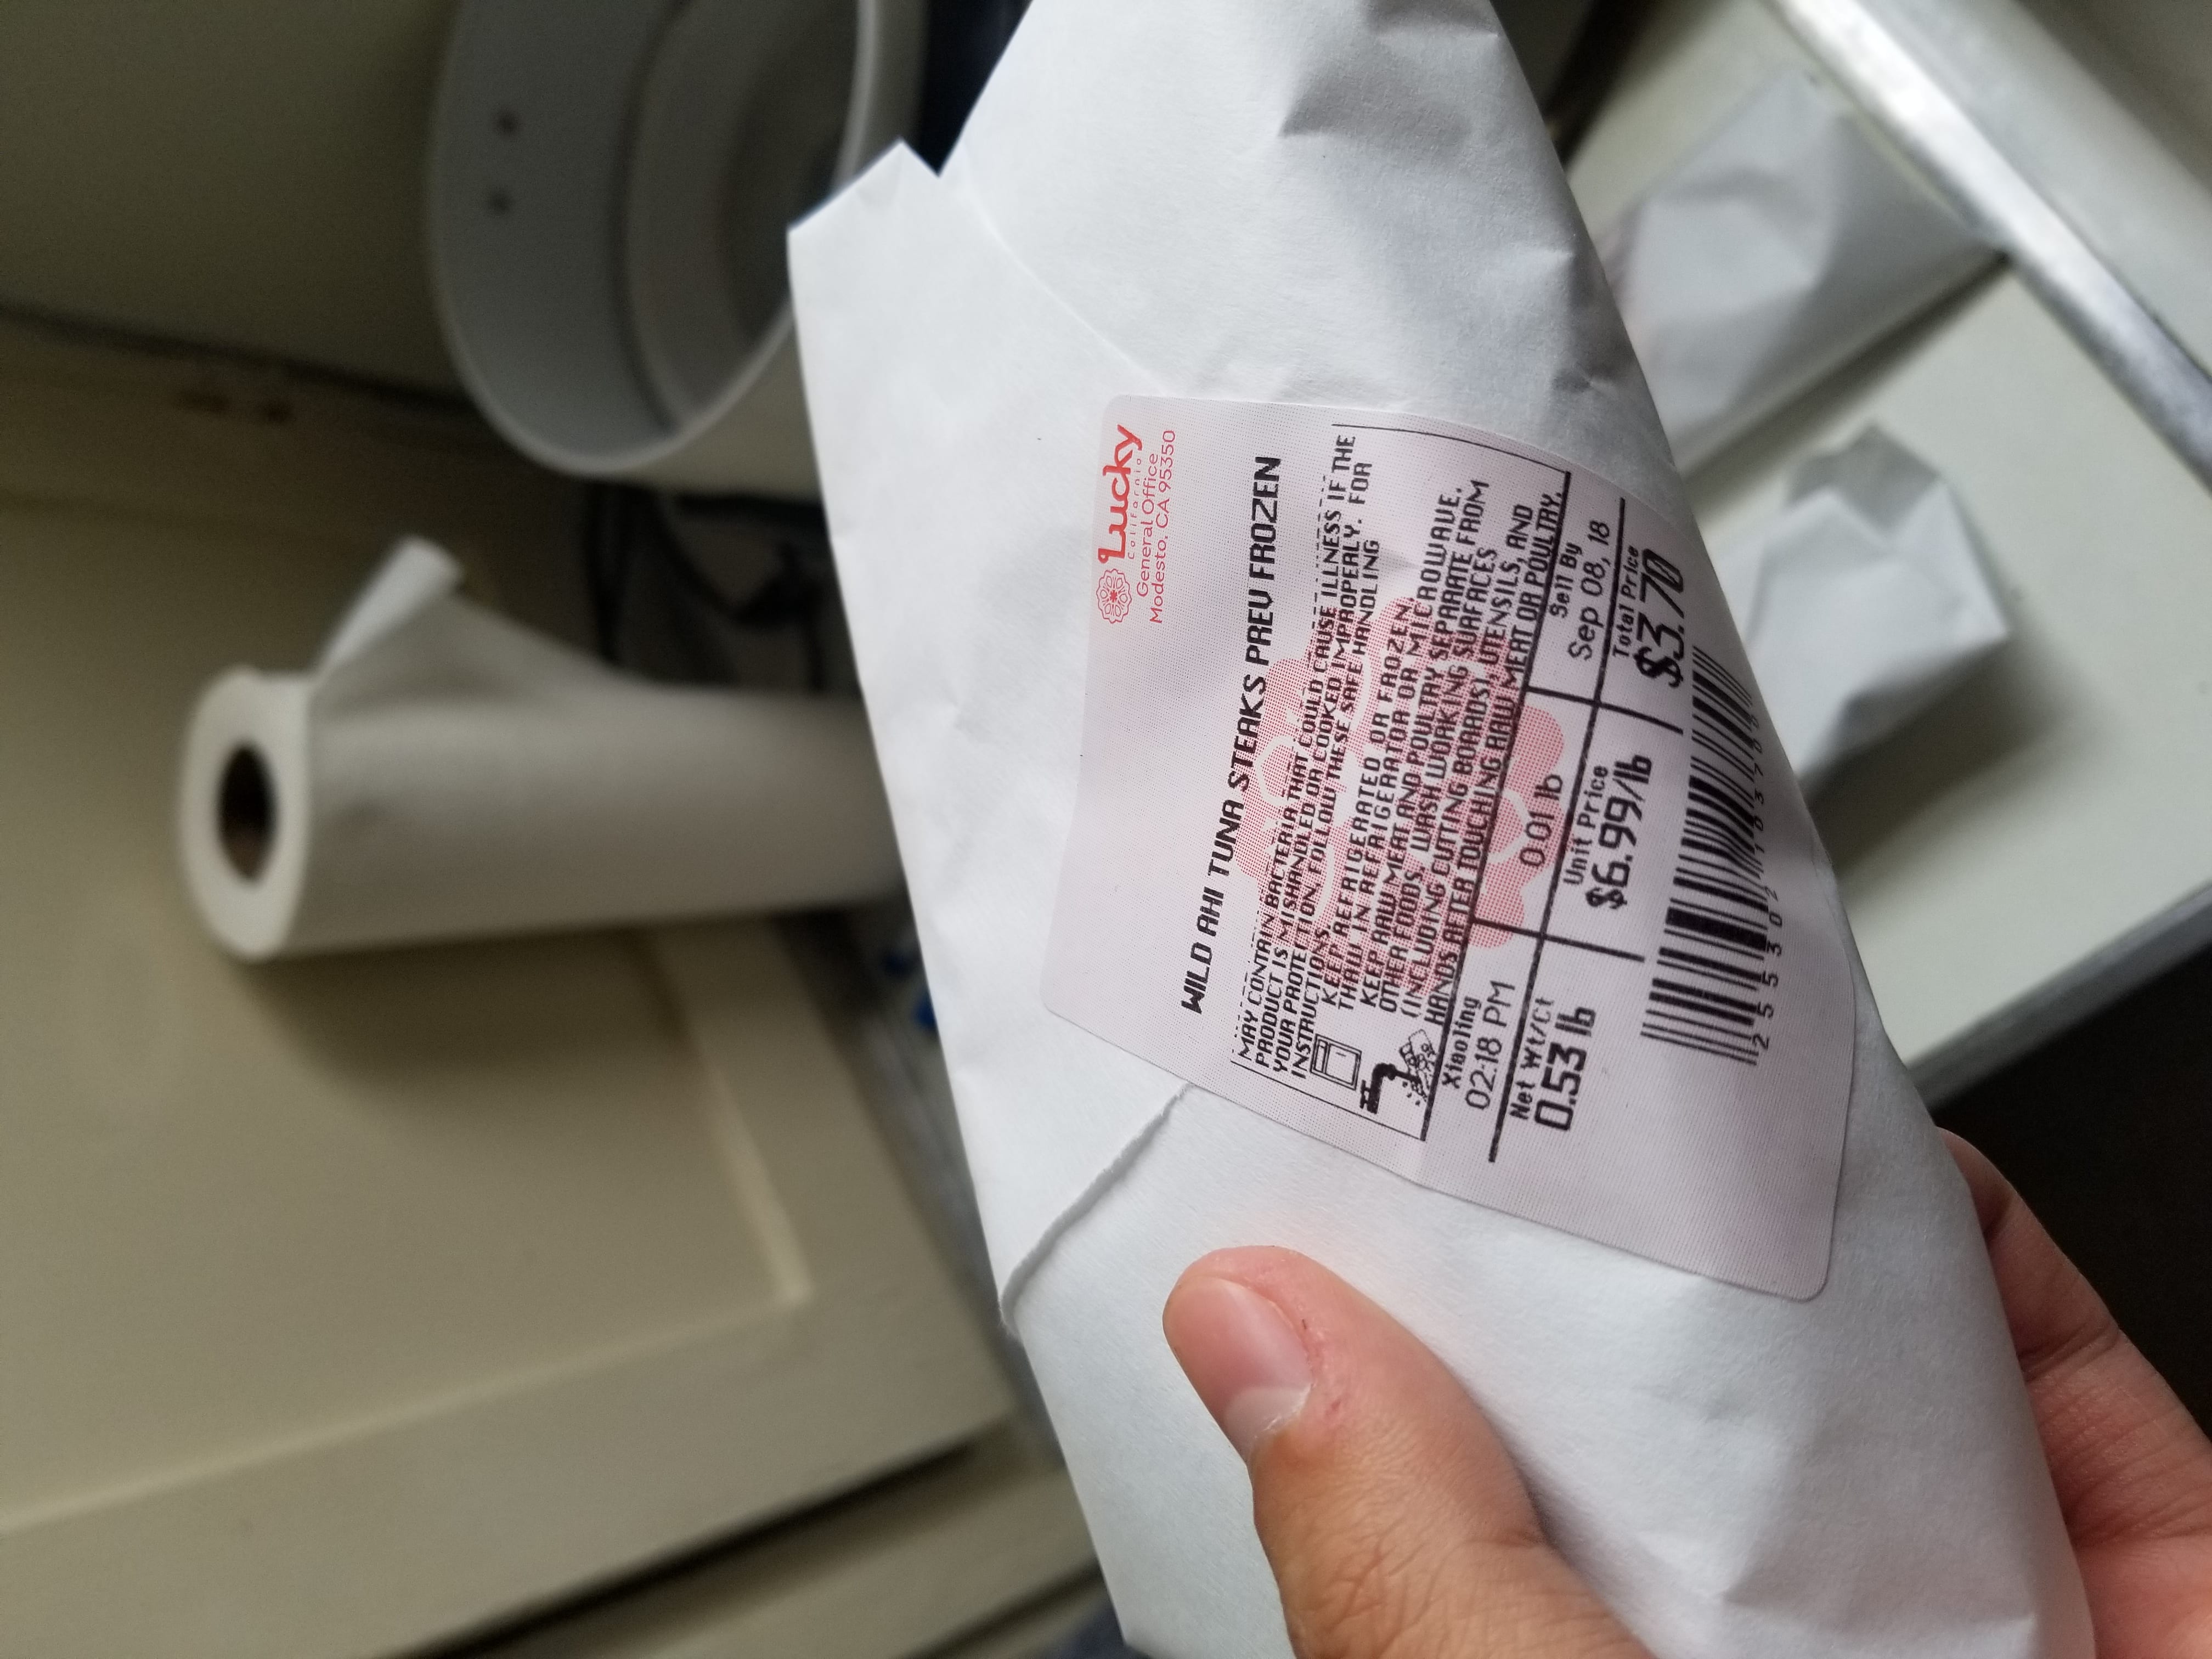
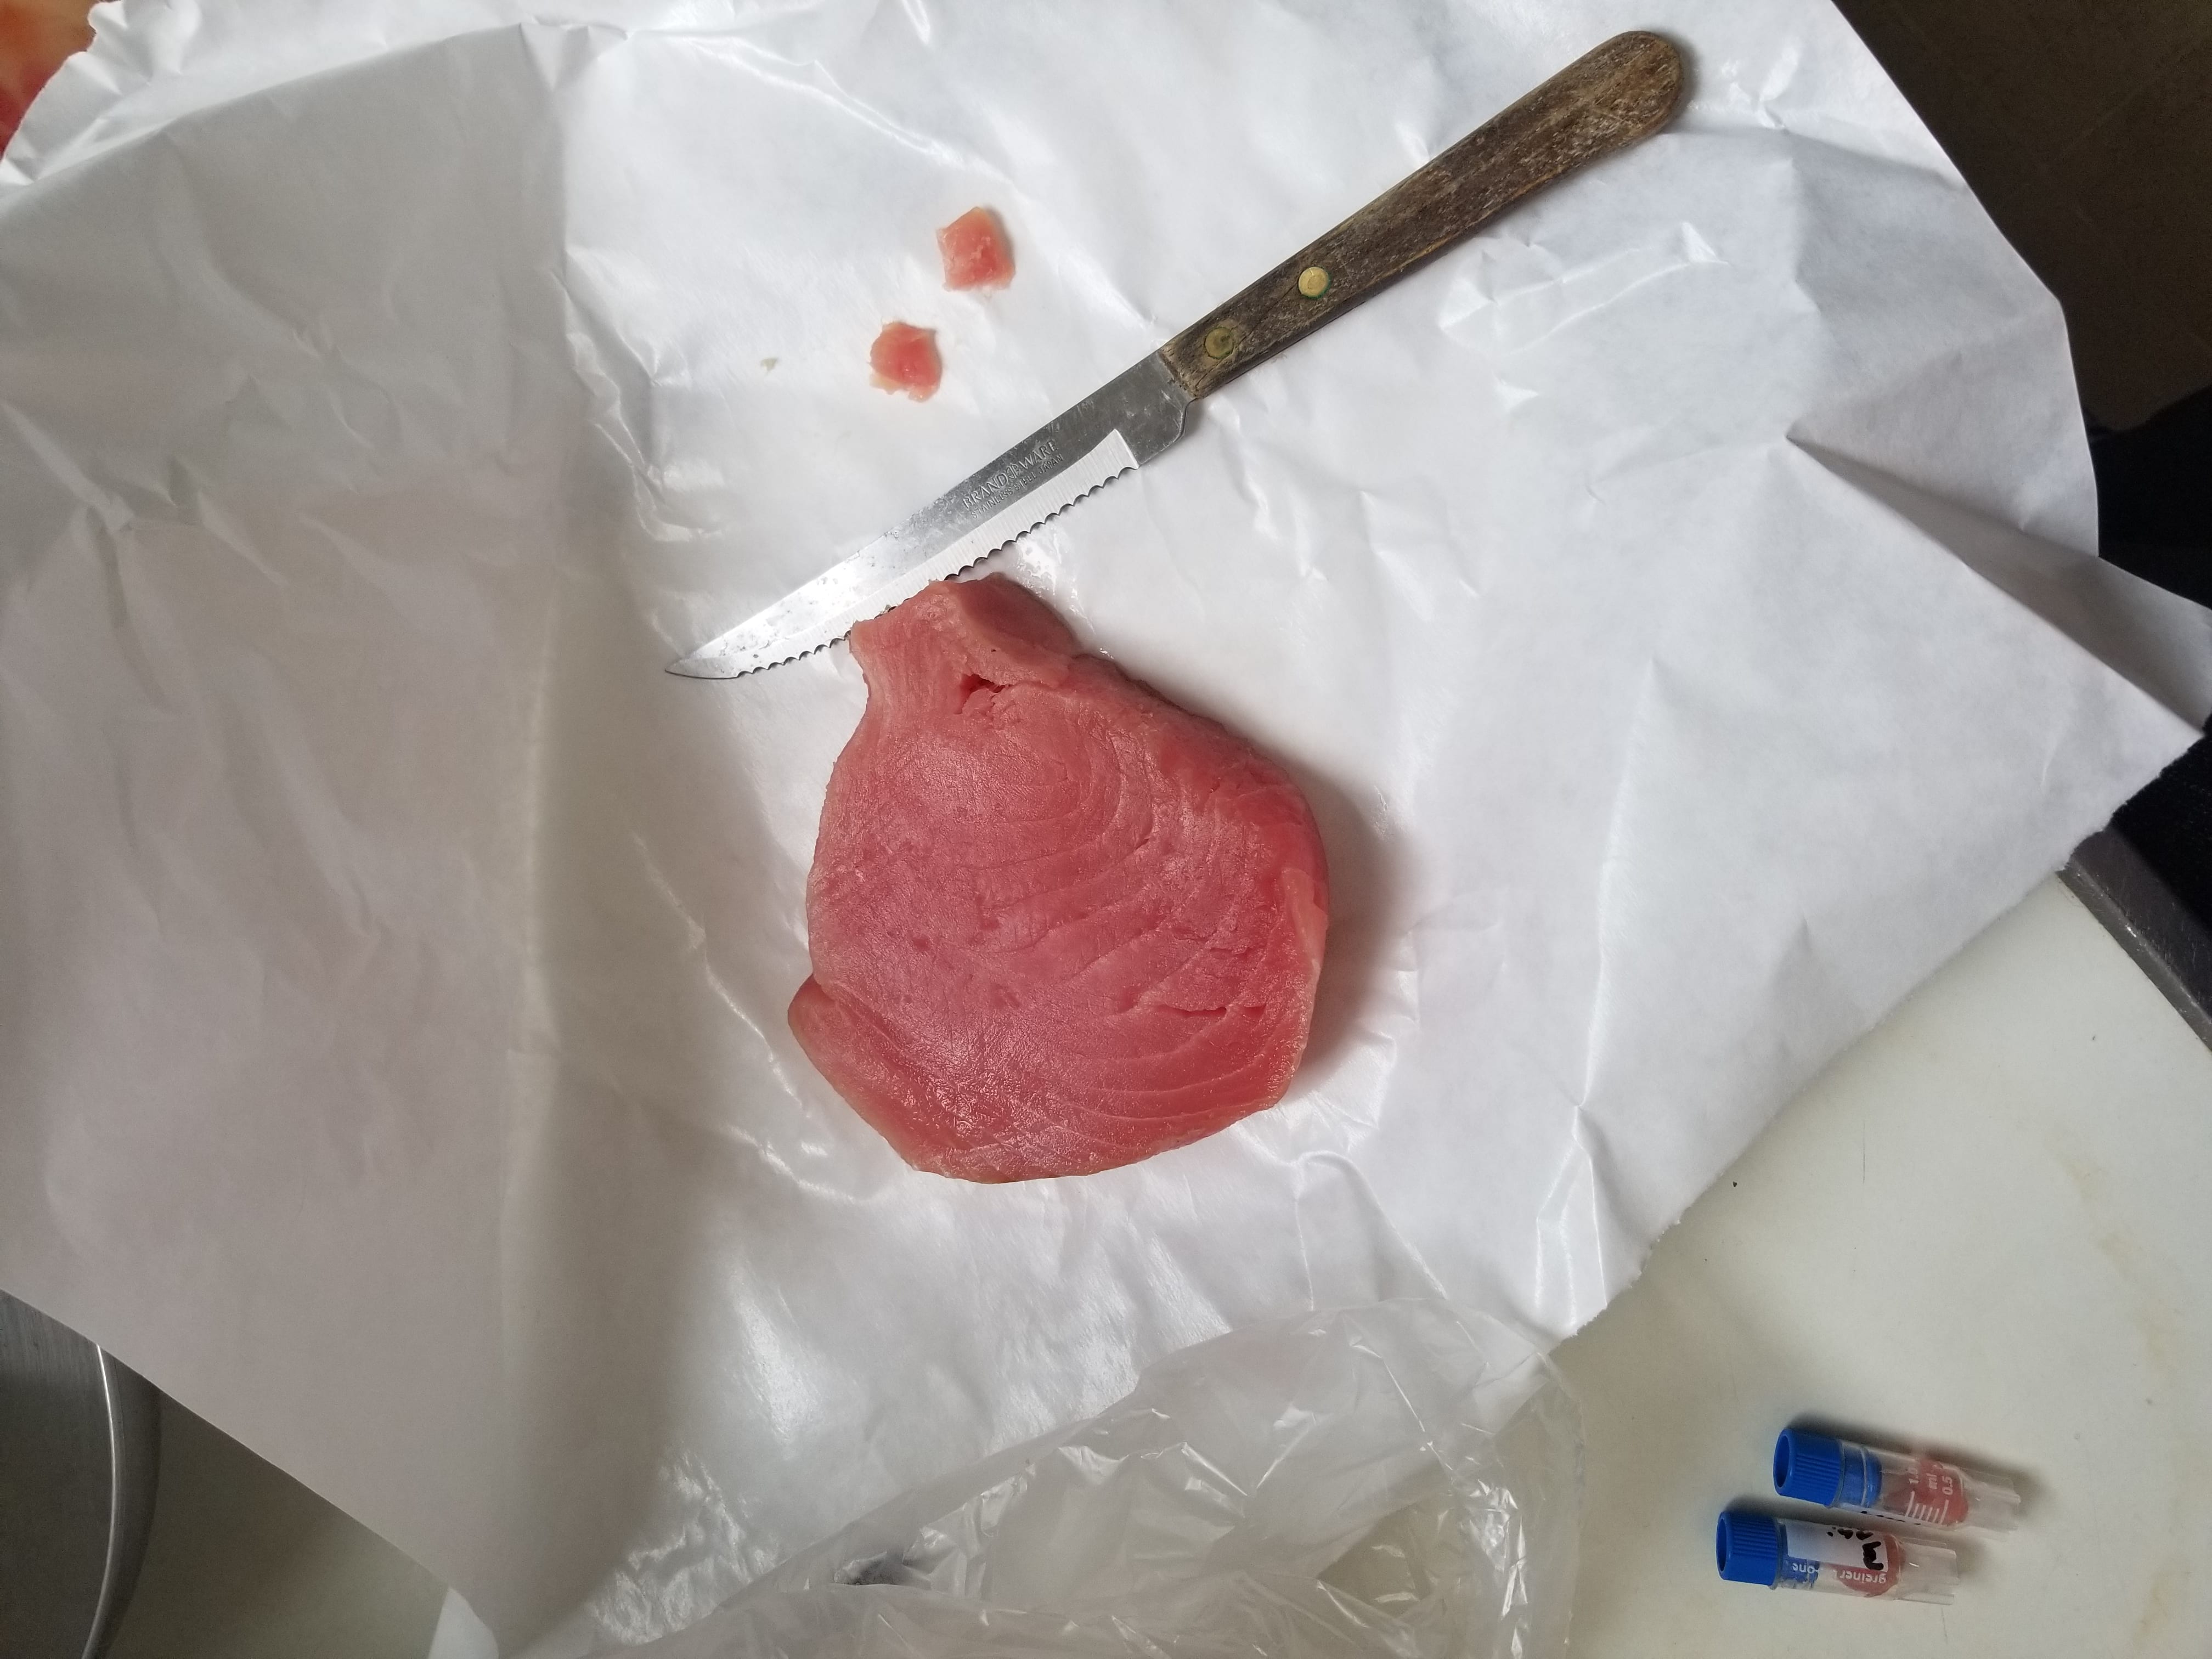
We were given a data sheet to write in unique ID code and Restaurant species name. I wrote JK-01 for Pacific Rock Cod, JK-02 for Fresh Dover Sole fillet and JK-03 for Ahi Tuna. I then put on my gloves and grabbed three 1.5ml Screw-cap and Locking Ld microcentrifuge tube and labled my unique ID code both on the side and on the top of the tube. I was then able to cut each samples with the razor blade and weigh it to be about 3mg. I took the tiny piece of each samples aside on the paper. Next, I added 100µl of Extraction Solution (ES) to each of my labeled sample tubes using a p200µl micropipette and unfiltered tips. And I added 25µl of Tissue Preparation Solution (TPS) to each of my labeled sample tubes using a p200µl micropipette and different unfiltered tips. After gently mixing those two reagents, I then carefully added correct samples in the correct tubes. Using a disposable non-filtered pipette tip, I gently mashed my tissue sample so that the solution is misty. I then left my samples at room temperature for 10 minutes and put it into the heat block (95 celsius) for 3 minutes. After I took the samples out of the heat block, I added 100µl of Neutralizing Solution (NS) using a p200 pipette and filtered tips and mix by vortexing. By vortexing, it will mix up my samples vigorously. After vortexing for about 5 seconds, I then put my samples into an ice box full of ice.
Next is amplifying CO1 from Fish:
Materials are:
-Purified water
-Microcentrifuge
-gDNA
Materials for a master mix:
-Water
-REDExtract-N-AMP PCR rxn mix
-Forward Primer FbcF
-Reverse Primer FbcR
Procedure for amplifying CO1 from fish:
**WE ALL HAD TO USE FILTER TIPS FOR ALL PCR STEPS
First we labeled three microcentrifuge tubes with “1:10” and wrote out our unique ID code on the top and on the side of the tube. To dilute my gDNA, I added 18µl of water into each microcentrifuge tubes that I just labeled and then I transferred 2µl of my gDNA (JK-01,02,03) into three different tubes. After my gDNAs were diluted, I made a master mix for my table (a volume x 18). To make a master mix (a volume x 18), I added 115µl of water,180µl of REDExtract-N-Amp PCR rx mix, 14.4µl of Forward Primer and 14.4µl of Reverse Primer; a total volume of 324µl. I then add 2µl of the dilute gDNA to each of my PCR tubes that were labeled earlier (changed tips between each sample). After that, I added 18µl of the master mix into each of my PCR tubes (changed tips between each sample). We then as a class put our samples into the thermocycler.
This is how thermocycler works:
94℃-4 min (initial denaturation)
30 cycles of: 94℃ for 30 sec (denaturing), 52℃ for 40 sec (annealing) and 72℃ for 1 min (extension).
72℃ for 10 min (final extension)
10℃ hold.
Next is Agarose Gel electrophoresis
Materials:
-Agarose gel with GelRed added
-Loading Dye
-Parafilm
-Genomic DNA/PCR product
-Latter
Procedure:
Professor Paul set up the gel tray and Parafilm for us. Carter picked 10µl micropipette with the filtered tips and added total of twelve 2.0µl drops of Loading Dye onto the Parafilm (three drops each row, total of 4 rows). After that, he added 3.0µl of our genomic DNA into the Loading Dye. First row was Kayla, second row was Carter, third row was Peter and fourth row was Jinwoo (mine). He then readjust the pipette to 5.0µl and then pipette each dot into the proper well in the gel. After done with pipetting each dot into the well, he then pipette 2.0µl of latter onto each row as a control. The arrangement was top row: three space three space latter, bottom row: three space three space latter. He then set the volts to 145 and then selected “run”. We ran this for about 15-20 minutes and checked our genomic DNA. We named our table FabFoxes and these are our picture of the result:


The left one is the genomic DNA picture and the right one is the invert genomic DNA picture. We can see that our group as a whole had a successful run because we could clearly see our DNA with black color looking at the invert genomic DNA picture. Right bottom looks mostly successfully so I guess its good.
After the lab, we put all our micropipettes into the shelf and put away the tips as well.