Sustainable Quarantine Projects: Kombucha

Since it seems like the stay at home orders will go through the summer, here is another project to keep yourself busy at home! Recently, kombucha has become very popular, but the downside is it is fairly expensive to buy in stores. But don’t worry, kombucha is one of many fermented drinks that is super easy to make on your own. Home brewing is also far more sustainable as you avoid having to recycle all those glass bottles.
So you may be thinking, what even is kombucha? Good question! Kombucha is a fermented drink that is usually made with green or black tea, sugar, and a culture of bacteria and yeast (usually called SCOBY, short for symbiotic culture of bacteria and yeast). Kombucha has been around for years but has recently become more popular due to its health benefits from the probiotics it contains. Probiotics are essentially live microorganisms that help clean and restore your gut (and also tastes really good)!
I first tried kombucha over 2 years ago at a farmer’s market in San Diego, and I have been drinking it ever since! It’s been about a year now that I have been brewing my own, and I hope after reading this you’ll be inclined to do so too. Before you begin brewing, you’ll want to make sure you have a glass, ceramic, or stainless steel container that you will ferment the tea in. Do not use any plastic containers because the acidity in the ferment can break down the plastic, and it will leach into the tea.
Attaining a SCOBY
Before you start brewing your first batch, you’ll need to have a SCOBY and about a cup of starter tea. There are two ways of attaining this: if someone brews kombucha, they can give you one of their SCOBY’s and a cup of their last brew (this becomes your starter tea). If not, you can grow a SCOBY from scratch.
To grow the culture you’ll need:
- 3 cups boiling water
- 2 black tea bags
- 1/4 cup sugar
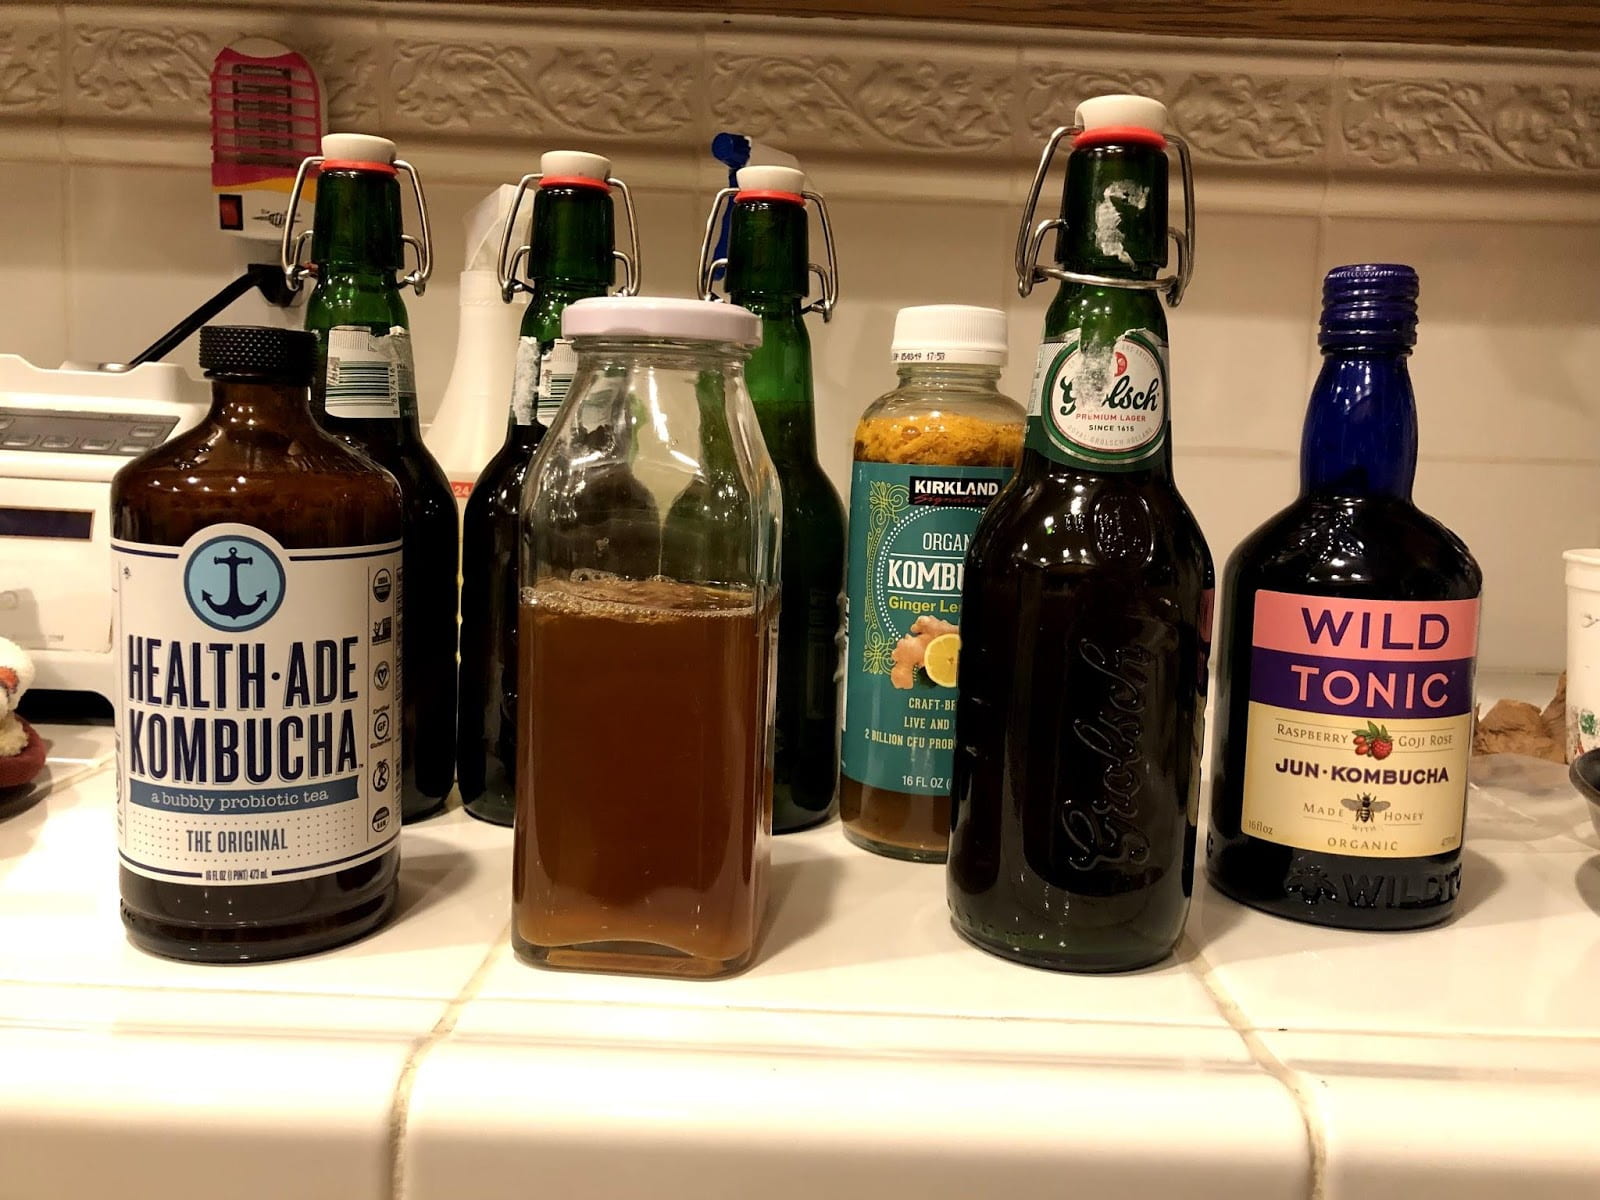
- 2 cups raw unfiltered store bought kombucha (e.g., Health-Ade’s The Original)
Begin by steeping the two tea bags in the three cups of boiling water for 20 minutes. Next, remove the tea bags and mix in the sugar, then pour the bottle of kombucha into the mixture. You’ll want to cover this with a breathable towel and secure with a rubber band to make sure no fruit flies or dust get in. Place it in a dark cupboard, leave it for 2-3 weeks, and in no time you’ll have your own scoby and a batch of starter tea.
First Fermentation
For your first fermentation, you’ll need:
- 16 cups of water
- 12 black tea bags
- 1.5 cups of sugar
- Scoby + 2 cup starter
The brewing process is fairly straightforward from here- the only thing to keep in mind is to brew in only a stainless steel or glass container (stay away from plastic as it will leach into the tea and can contaminate it). Start by boiling 8 cups of water and then brewing the 12 tea bags in the water for 10 minutes. Once done, remove the tea bags and add 8 more cups of water (doing it in this order will help cool down the mixture quicker). Then mix in the sugar and wait for the tea to cool down to 96º Fahrenheit or lower. If the temperature of the tea is any hotter, it will kill the SCOBY and nothing will ferment! Once it has cooled down, place the cup of starter tea and the SCOBY in the batch. Lastly, cover with a towel and secure it with a rubber band, then leave it in the dark cupboard for 7-10 days to ferment! The fermentation time will vary depending on your environment, but you will know it’s done when it loses the flavor of sweet tea and begins to taste sour.
Second Fermentation
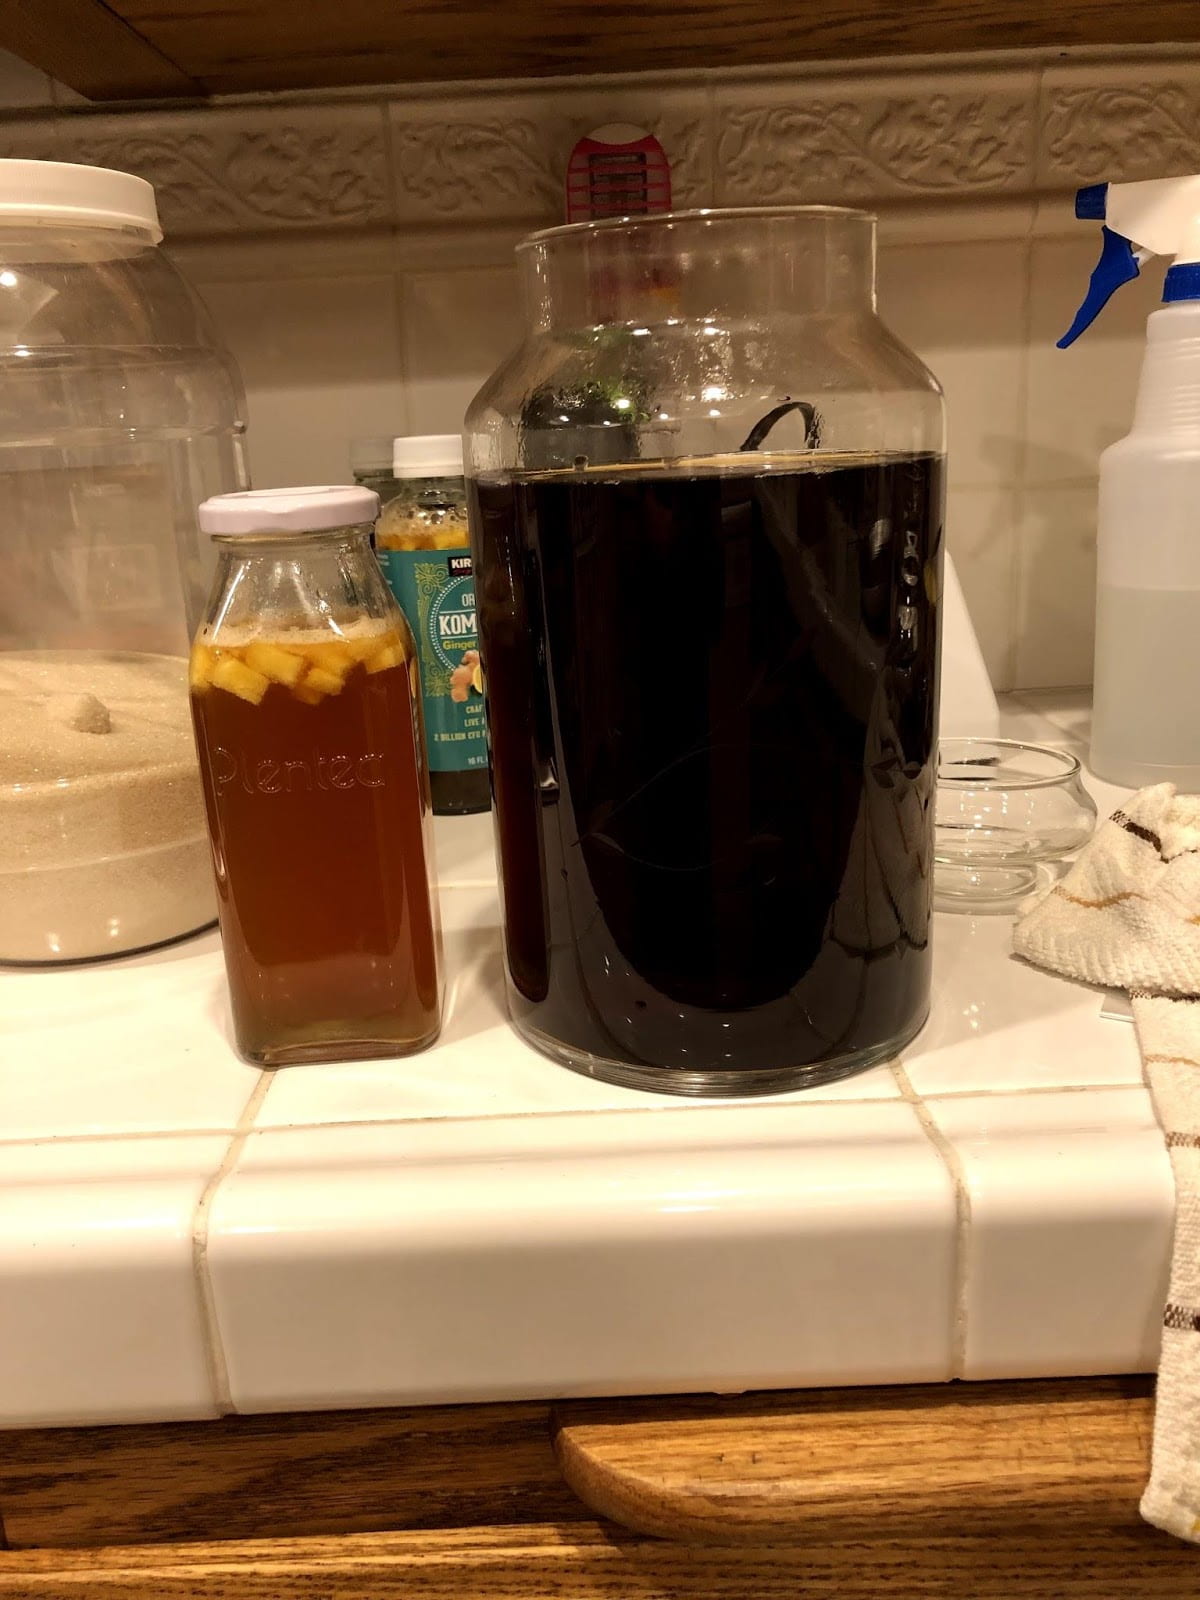
Once the tea has fermented and changed from a dark brown to a light brown color, it is ready to be bottled and flavored. This step is optional since you can drink the kombucha after the first fermentation. However, this step is where carbonation and flavor build up. Don’t forget to leave two cups of this brew to use as your next starter tea in the next batch.
To flavor the tea, fresh fruit or fruit juice can be used, but keep in mind fresh fruit tends to build heavier carbonation. Any fruit works! I first started with whatever was laying around the house. This is a great way to prevent food waste by using up any lumpy fruit in your kitchen! You’ll want to add 4-6 small pieces to each glass bottle/container and then fill the bottle with kombucha, leaving about half an inch for it to breathe at the top. If using fruit juice, fill up 1/4 of each bottle with the juice.
Once all the bottles are filled, leave them on the counter for 3 days to carbonate. Each day you should come back and open each bottle to release the built up carbonation so the bottle doesn’t explode. This is also called “burping” the bottles. After burping the bottles for the third time, place them in the fridge for the night to stop the fermentation, and then you’re ready to enjoy your home brewed kombucha the following day!
It’s a pretty simple and straightforward process once you get the hang of it, and it’s a lot cheaper than buying the store brand bottles. A gallon of homemade kombucha ends up being between $1.50-3.00, depending on fruit, tea, and whatever else you choose to put in it! My brews have been an absolute hit with my friends and family, so I hope I have sparked your interest or that you give it a try. Let us know on our Instagram if you have any questions or if you give it a try! Happy brewing!


