Our lab on Wednesday, October 25th was composed of two parts. First, we tested four interspersed-simple-sequence-repeat (ISSR) primers in PCR reactions. These are regions of DNA that are flanked by microsatellites. When we perform PCR, the amplification products can be used as dominant markers for studying genetic variation at the intraspecific population level (within species). ISSRs are easy to use and economical, so they are ideal for basic laboratory studies of genetic variation. Different groups within the lab used different ISSR markers to see if there was variation across populations of L. arboreus. My group used the HB10 PCR primer.
Finally, we once again performed the psbA PCR protocol from last week, as the PCR for this marker did not yield usable results.
ISSR procedure:
Preparing template DNA
- I chose two 0.2 mL PCR tube strips and I labeled the first one in the following way, accounting for a negative control. The second strip will be used in the next protocol.

2. I pipetted 1 μL of my first sample of template DNA into the first tube of each PCR strip (those labeled 1) with filtered tips. I changed PCR tips between samples.
3. I repeated this pipetting for each sample, pipetting template DNA into the appropriate tube in each PCR strip.
4. I did not place any template DNA into the last tubes in each PCR strip, which were the negative controls (labeled neg. con.).
5. I placed lids on each PCR strip and placed them on ice.
Setting up Master Mix
- We calculated the amount of reagents for 20 reactions at our lab table.

- We labeled a 1.5 mL tube as MM (Master Mix) in order to mix the reagents.
- We also placed the reagents on ice after they thawed.
- We added the reagents to the MM tube in the following order: distilled water, 10x PCR buffer, BSA, dNTPs, and ISSR primer.
- We placed the Master Mix on ice.
- Prof. Paul pipetted 5 μL of Taq into the Master Mix.
- Next, we each pipetted 19 μL Master Mix into each of our PCR tubes, mixing by pipetting up and down. We changed pipette tips in between each tube.
- I also pipetted Master Mix into my negative control tubes (labeled neg.con.).
- I closed my tubes tightly and placed them in the PCR machine.
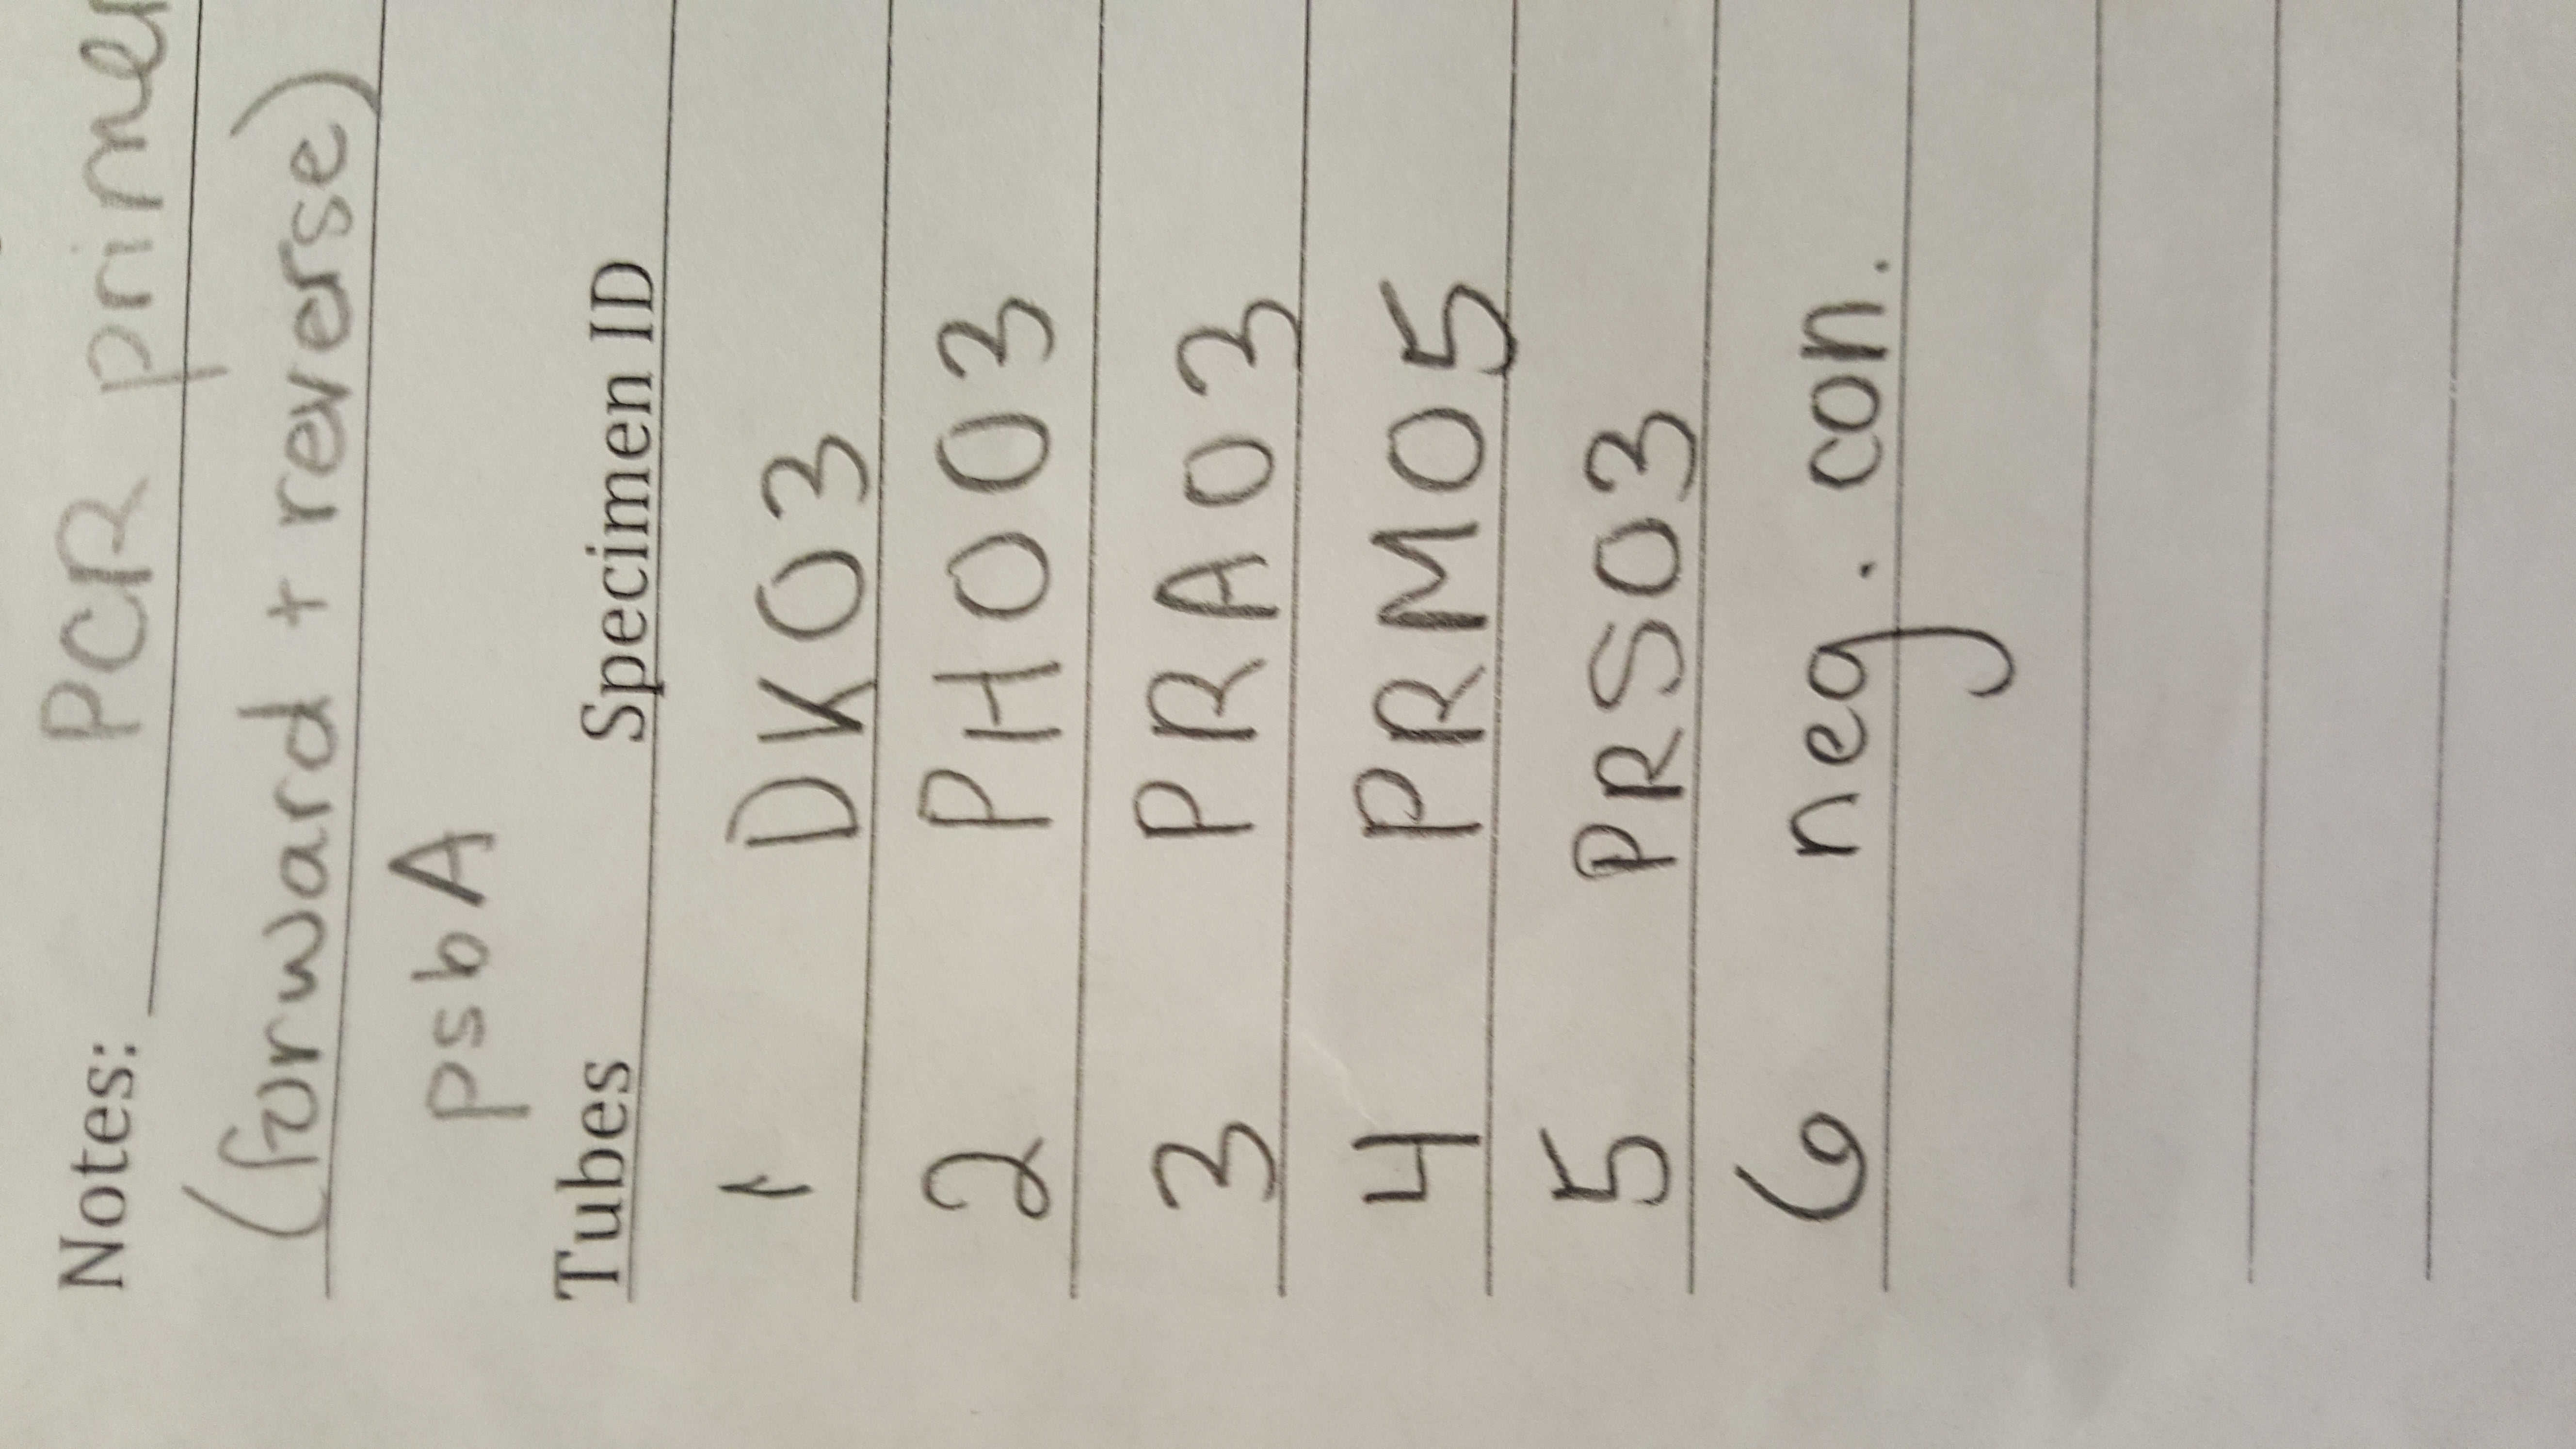
psbA procedure:
We repeated the protocol from last week in order to use primers from the chloroplast gene psbA. Refer to “Setting Up Master Mix” of last week’s post (October 25th).
We used the following quantities of reagents:

I labeled the PCR tubes in the following way: