On Wednesday, September 13th, we performed gel electrophoresis with our genomic DNA and PCR products. We also performed an Exo-Sap Clean-Up to better see the amplified PCR products.
Genomic DNA
- Prof. Paul prepared a small 1% agarose gel with GelRed added.
- We placed the gel tray (containing the gel) into the gel box with the bottom of the gel towards the red electrical connector.
- Next, we poured enough 1x TAE buffer into the gel box wells to cover the gel.
- We cut out a piece of Parafilm and pipetted 12 2.0 μL drops of Loading Dye in rows onto the Parafilm (as we loaded 12 samples).
- We added 3.0 μL of genomic DNA to each drop of Loading Dye.
- Next, we adjusted the pipette to 5.5 μL and then pipetted each drop into the corresponding well in the gel. We assigned the wells as follows:

7. We placed the lid on the gel box, matching the colors of the lid and gel box together, and turned on the power supply.
8. Finally, we set the power to 145 volts and then pushed “Run”. We let this process run for 30 minutes.
9. After this time, we placed the gels in a laboratory instrument to take pictures of them. We obtained the following results: 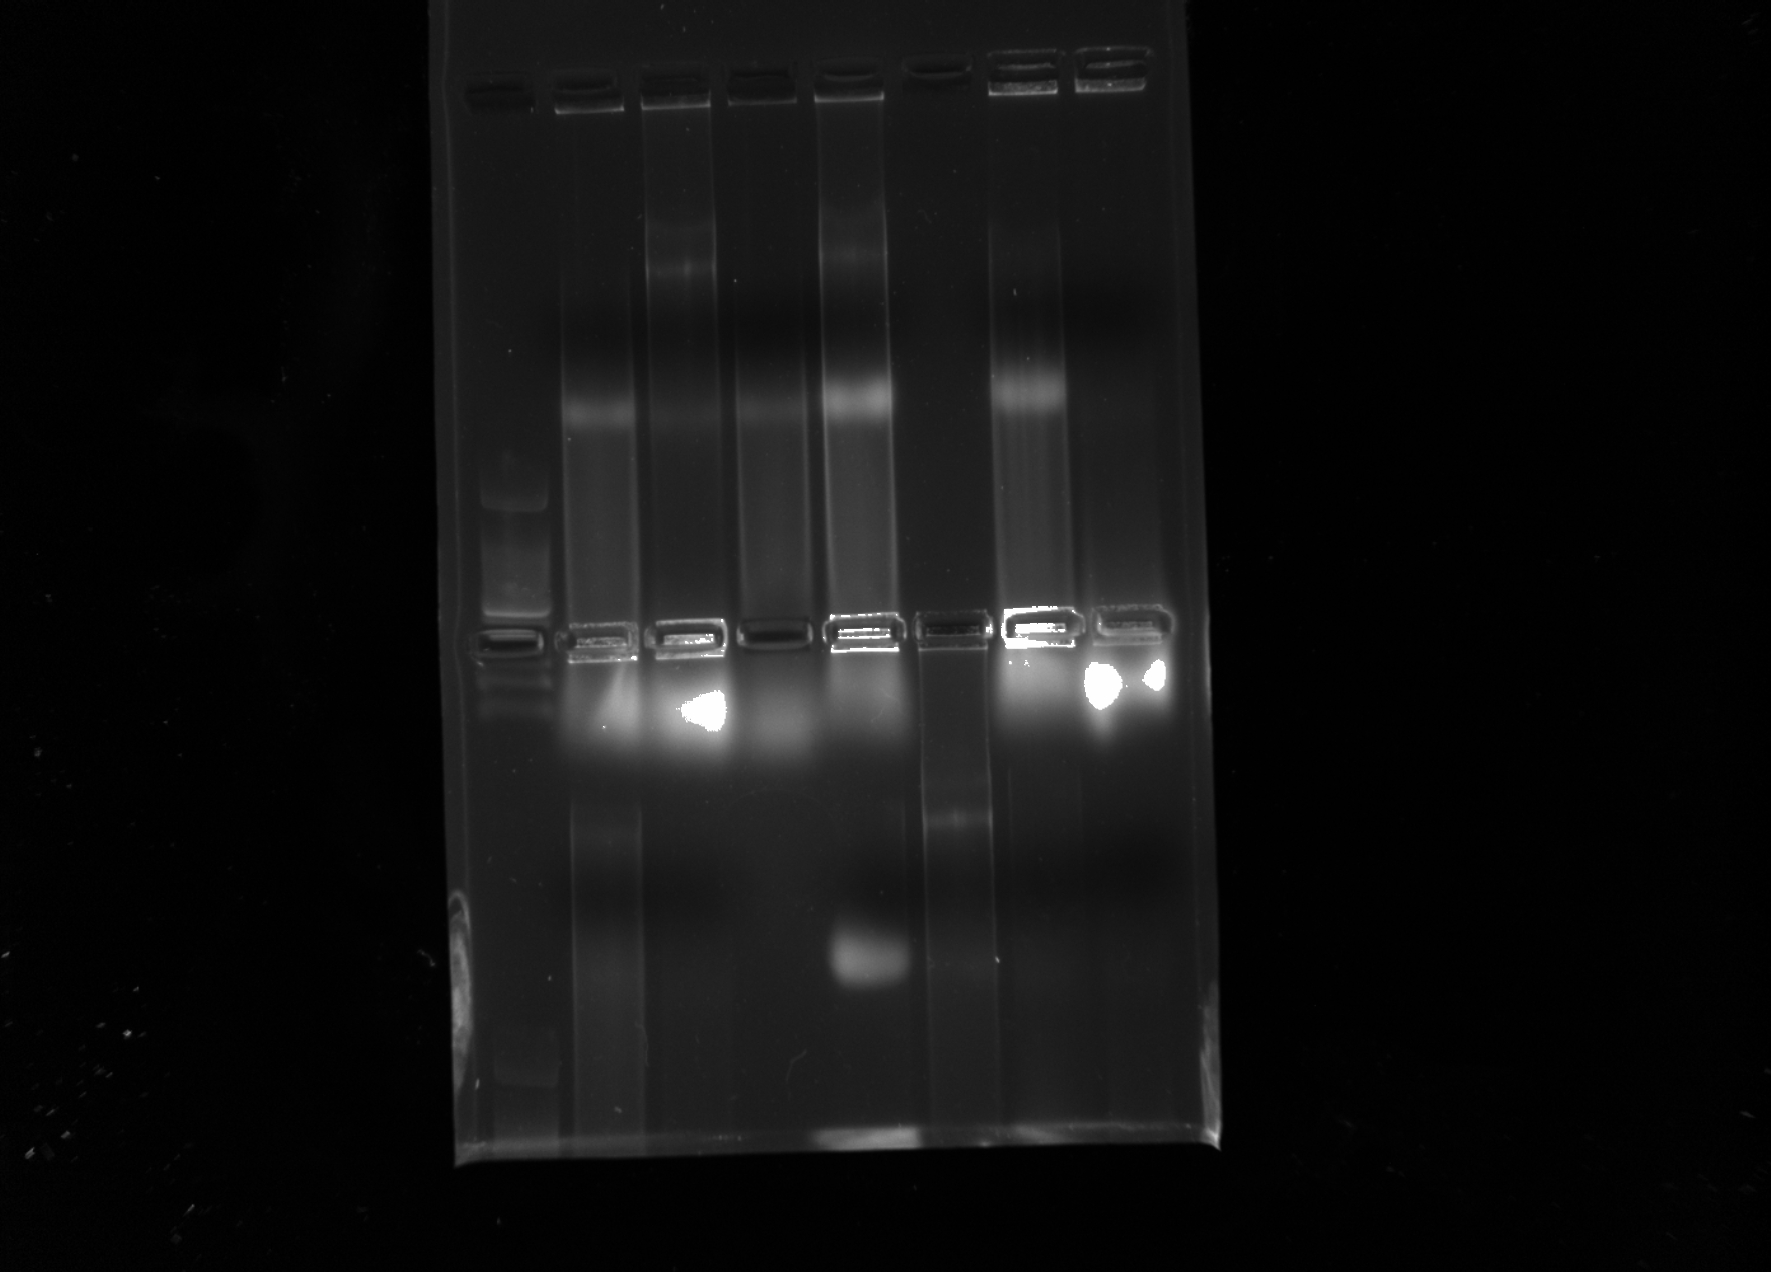
PCR Products
- We placed the used gel from the genomic DNA procedure and placed it in the microwave for 30 seconds, melting it down into a liquid.
- We removed the beaker with insulated gloves and pipetted 1.0 μL of Gel Red into it. We also swirled the beaker to mix the melted gel with the Gel Red.
- We let the solution cool on the counter for about 5 minutes.
- We rinsed the cast that was used in the previous procedure.
- Next, we placed a gel cast into the casting ring and tightened it.
- We also placed combs into two slots in the gel cast. The combs were evenly spaced so we could load two rows.
- We poured the beaker solution into the gel cast and let it cool and harden for 5 minutes.
- We removed the gel from the gel-casting rig.
- We slid the gel into the gel box and poured enough 1x TAE buffer to cover it.
- We also carefully pulled out the gel combs.
- We cut out a piece of Parafilm and pipetted 13 2.0 μL drops of Loading Dye in rows onto the Parafilm (as we loaded 12 samples plus the negative control).
- We added 3.0 μL of genomic DNA to each drop of Loading Dye.
- Next, we adjusted the pipette to 5.5 μL and then pipetted each drop into the corresponding well in the gel. We assigned the wells as follows:

14. We placed the lid on the gel box, matching the colors of the lid and gel box together, and turned on the power supply.
15. Finally, we set the power to 145 volts and then pushed “Run”. We let this process run for 23 minutes.
16. After this time, we placed the gels in a laboratory instrument to take pictures of them. We obtained the following results: 
Exo-Sap Clean-Up
- We chose to do 14 PCR clean-ups (11 clean-ups + 3 for margin of error).
- We calculated the total volume of Master Mix needed for these clean-ups. The following quantities were used:
- We acquired a bucket of ice.
- Next, we pipetted 7.5 μL of each PCR product into a clean, labeled 0.2 mL PCR tube.
- We made the ExoSap master mix and kept the reagents on ice during this process. We also vortexes the master mix to thoroughly combine the reagents.
- We pipetted 12.5 μL of master mix into each PCR product tube.
- We placed the tubes in a thermocycler.
- Prof. Paul started the ExoSap program and placed the PCR tubes in the freezer after about 45 minutes.