Natalia Whitney
09/05/18
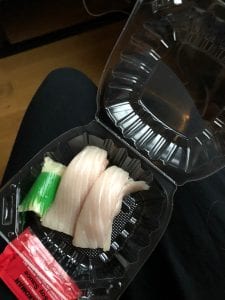
To get my fresh fish, I went to Balboa Teriyaki (3536 Balboa Street San Francisco) on 9/4/18. I went with my housemate and she bought a poke bowl that had tuna and salmon while I got yellow tail sashimi. I put the 3 samples of fish in the tubes and placed them in the freezer.
In lab, I followed the protocol for DNA extraction from animal tissue that was handed out in class. Yellow tail was labeled as NW01, Salmon NW02, Tuna NW03. I cut a small piece of the yellow tail and it weighed in at 3mg. I used that piece to visually judge the cut sizes of the tuna and salmon because there was a long line for the scale.
After the pieces were cut, I added the 100 microL of extraction solution and then tissue prep solution to 3 separate microcentrifuge tubes and labeled them accordingly. I made sure to mix the solution throughly, but gently as the protocol states. I then added each of the fish samples to their correctly labeled tubes. I mashed the samples up using a pipet tip, but it was difficult to get everything broken up. The tuna sample was especially hard for me to completely break up. After letting them sit at my desk for 10 minutes, I incubated them for 3 minutes on the heat block (using a timer on my phone to keep track). Once the 3 minutes passed, I added 100 microL of neutralizing solution to the tubes. I vortexed each tube for approximately 5 seconds to make sure everything was mixed properly to stop the reaction.
Following the collection of DNA from my samples we ran gel electrophoresis to confirm the presence of genomic DNA. The gel was already made and provided by Dr. Paul. Each of my lab mates pipetted the loading dye for their samples onto the parafilm. I wrote down the order of our samples in my notebook so we could keep track of our own samples. After adding each of our gDNA (3 microL) onto the 2 microL of loading dye, one of my lab mates pipetted all 5 microL into the gel. We double checked that red was to red and black was to black and then proceeded by placing the voltage at 145 volts. We then ran our gel for 15 minutes.
When we looked at our gel, all samples had gDNA except for 1 sample. We proceeded to perform the PCR steps for all of our samples. One of the lab mates wanted to make the master mix for our table so after diluting my gDNA (18 microL of water with 2 microL of DNA into a PCR tube), I added my DNA and master mix for each sample into fresh PCR tubes. I made sure to keep everything on ice to prevent degradation. I put my sample on the thermocycler to start the amplification process.
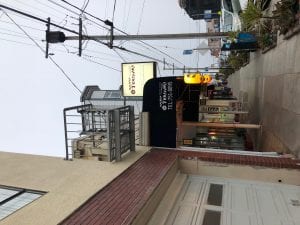
Balboa Terkiyaki
Balboa Terkiyaki
Yellow Tail

Balboa Terkiyaki
Tuna (red)
Salmon (orange)

Gel Electrophoresis Results showing gDNA (SquidSquad)


